What's a Workspace?
"A workspace is a virtual machine (VM) with or without some extra software installed." - well, almost.
The above sentence is a sufficient definition for now, but with more features added to ResearchCloud it will have to change over time.
A workspace is a unit of functionality that a ResearchCloud user can create, use and dispose of.
This could be a VM with a "bare" Operation System like Linux or Windows on it, it could be a VM with extra sofware pre-installed or, in the future it may be a container or a cluster of VMs or containers.
This page guides you through starting a workspace with an Ubuntu VM, as an example of a simple catalog item.
| Info |
|---|
Please note now already, that by default any workspace is volatile. If the workspace ceases to exist, all its data ceases to exist, too. Please make sure that you put on external storage anything that is supposed to outlive the workspace! See also our page on best practices. |
Create a Workspace with an Ubuntu VM
...
Make sure you have a budget assigned to your account before you continue if . If not follow the instructions here : Get a budget for Research Cloud.
When you successfully login to the ReseachCloud Research Cloud website you will see the Dashboard.
The following steps will help you to create your fist workspace:
...
To create your first workspace, click on the "CREATE NEW" button on the leftmost quick action tile:
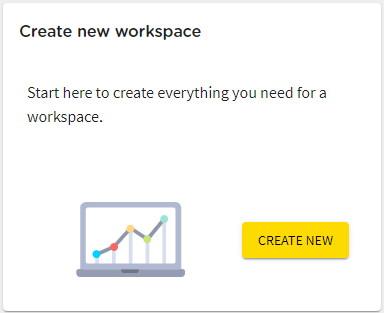
This will start the workspace creation wizard which takes you through the following steps:
Anchor workspaceOrganisations workspaceOrganisations
| workspaceOrganisations | |
| workspaceOrganisations |
1. Choose the collaboration
You are presented with a list of the collaborations you are a member of.
If you are a member of only one collaboration it will be automatically selected, and this step will be skipped.
Select the collaboration you want to create a workspace for and continue.
Other members of that collaboration will be able to see your workspace in the portal and will be able to log in to the workspace.
Depending on other configurations, they may even be able to become admin/root.
Anchor workspaceWallets workspaceWallets
| workspaceWallets | |
| workspaceWallets |
2. Choose wallet
If you have multiple wallets, in this step you can choose which wallet will be charged for running the workspace. If you have only one wallet it will be automatically selected, and this step will be skipped.
Anchor workspaceApplications workspaceApplications
| workspaceApplications | |
| workspaceApplications |
3. Select a catalog item
Browse through the different catalog item tiles that are displayed. You can use the search function to find what you need.
probably a "plain" Ubuntu workspace will do, for now:
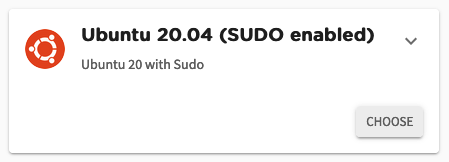
Click "CHOOSE" and continue to the next step.
Anchor workspaceDatasets workspaceDatasets
| workspaceDatasets | |
| workspaceDatasets |
4. Dataset
If the chosen collaboration gives you access to any predefined datasets, you can choose them here. If no datasets are available to you this step will be skipped.
Anchor workspaceClouds workspaceClouds
| workspaceClouds | |
| workspaceClouds |
5. Cloud provider, operating-system and size
In this step the possible cloud providers for the chosen catalog item are displayed.
Choose the cloud provider, the operating system and the workspace's size.
"Operating System" is typically Windows or one or more Linux distros and versions.
| Info |
|---|
| If you want to know how much a particular size will draw from your budget, you can extend the display-tile of the flavour and check the "credits/day" entry. |
Anchor workspaceOptions workspaceOptions
| workspaceOptions | |
| workspaceOptions |
6. Options (storage, ip-address, network)
If you have created any storage volumes, reserved ip-addresses or private networks, earlier, you can attach them to the new workspace, here.
| Info |
|---|
Workspaces and storage volumes created from March 2024 onwards can be attached/detached while the workspace is paused. Extend the display of your workspace and select the "Storage" tab to do this. |
If you do not have or need any of these, just continue without selection.
Anchor workspaceName workspaceName
| workspaceName | |
| workspaceName |
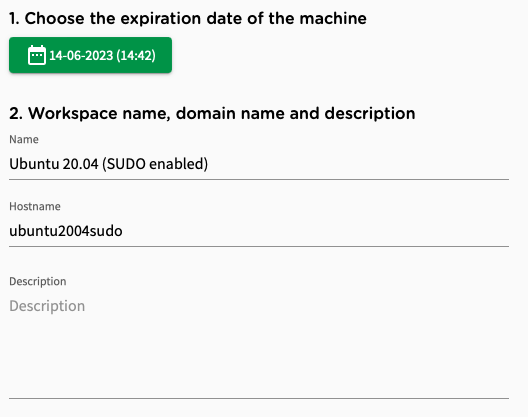
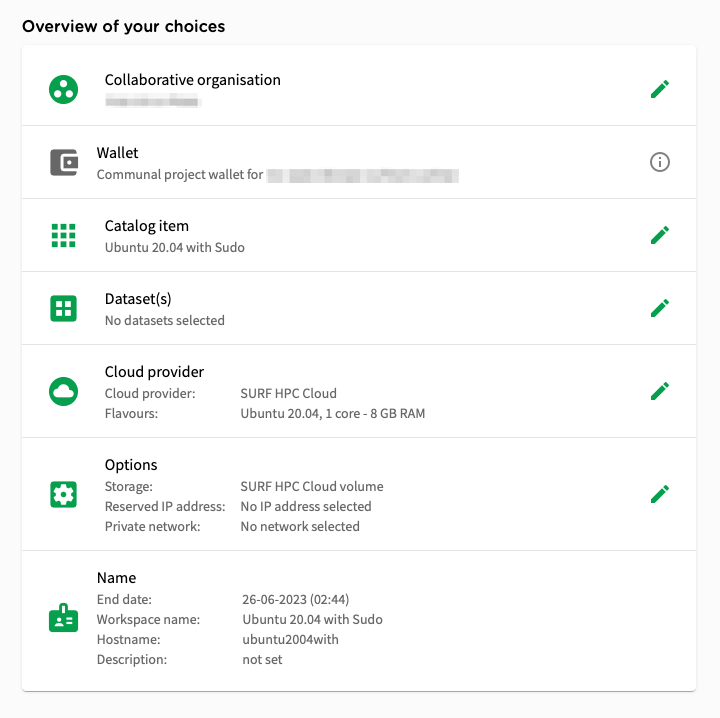
7. Name, date of expiry and overview
In this last step, you can choose how long you want the workspace to be running.
| Info |
|---|
| The expiry date is the only thing that you can change later on, while the workspace is running. |
The workspace will be deleted when the selected expiry date has arrived. (You will get an e-mail three days before this happens.)
Also type in a "friendly" name for your reference (and your colleagues reference), and a hostname.
The hostname will be part of the workspace's url once it is running.
A description is very useful, too. Especially if you and your colleagues run more than one workspace.
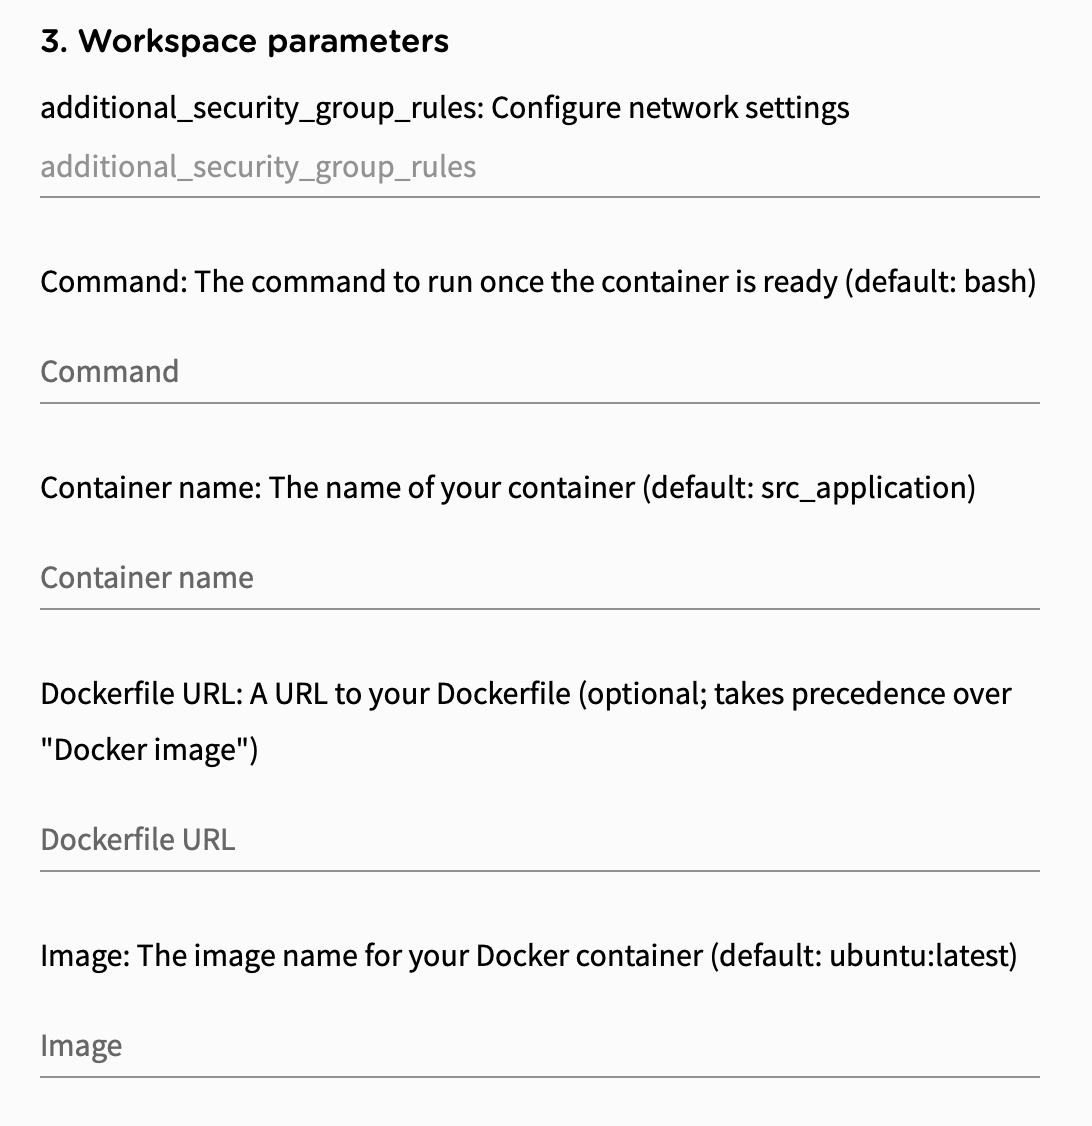
If you choose a catalog item that requires input of parameters, on this step you will see the section "Workspace parameters". Here you can enter the parameters that will be used for creating your workspace.
On the left side of the window you will see an overview of the configurations of your workspace. The "edit" button on the left side of each section lets you modify your selections. The steps that were skipped are coloured in grey.
You can now finish and submit the workspace wizard
...
.
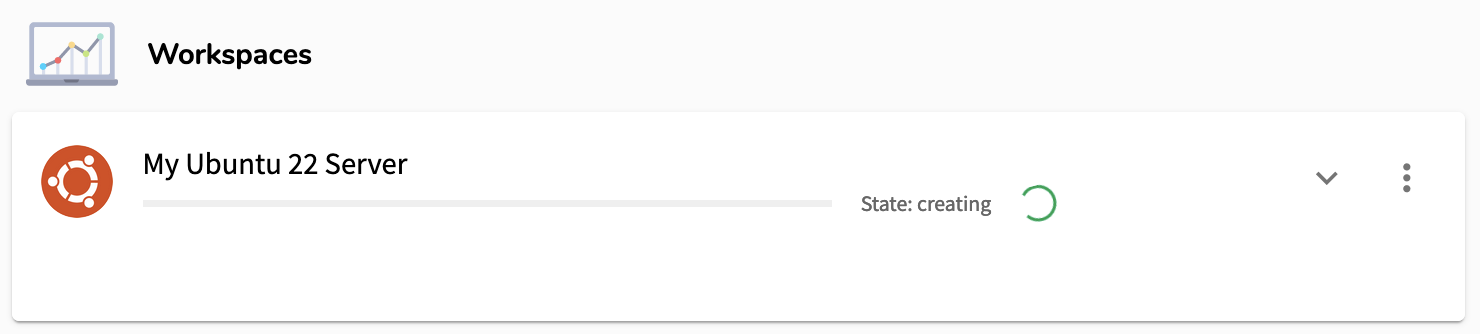
You will be redirected to the Dashboard
...
. In the lower section ('Workspaces') you see the name of the Workspace that you have created. The status will change form creating to running
...
when the
...
Workspace is ready to be used.
"Lifeline"
Once your workspace is in the state "running", the green "lifeline" of the workspace is displayed.
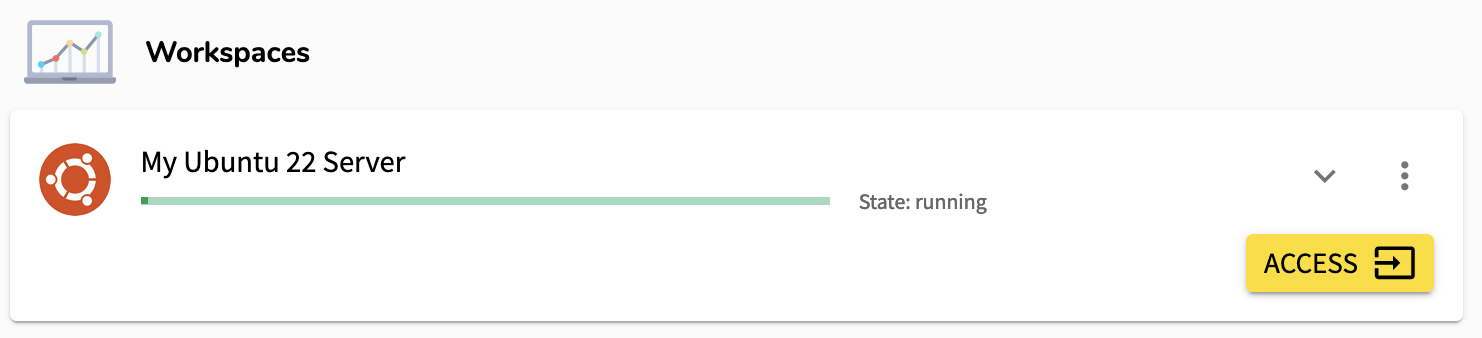
It symbolizes how much of the scheduled running time has expired. When the scheduled deletion date approaches, this line will be shown in red.
Use your Workspace
Now that your workspace with Ubuntu is running, you probably want to log in and use it. This is described in the next page: Log in to your workspace.
Do not forget to delete your workspace after you are done, see the next section.
Delete your
...
Workspace
Once you have a workspace created you should be able to see it in you Dashboard under the section "Your Workspaces". You can click on the down arrow (![]() ) to see more details.
) to see more details.
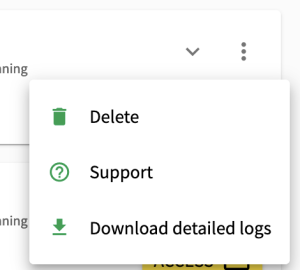
If you like want to delete that workspace you can click on the  button use the ellipsis menu-symbol on the upper right or the workspace display. to delete this workspace.:
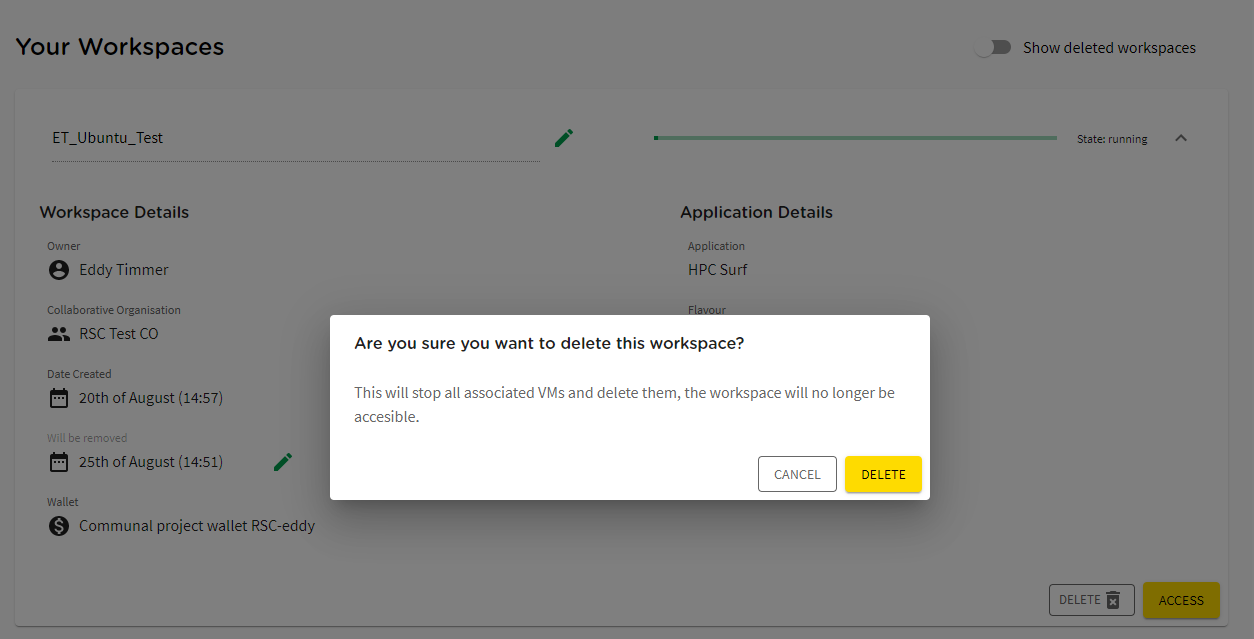
Confirm the removal of the workspace by clicking on the DELETE button again.
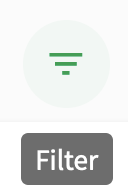
This It will take a couple of seconds to delete the workspace. The status will be changed from deleting to deleted. Once When the workspace is deleted you are able to see the deleted workspaces by enable enabling the option 'Show deleted workspaces' ![]() in the filter menu.
in the filter menu.
If you had a persistent storage volume attached to the workspace, this volume will be available again to be attached to another workspace.