Performance of external storage is not optimal and also depends on the external party.
The steps to mount Google Drive are described here. This is not further supported by the Research Drive Helpdesk.
- Go to the "External storage" option at your personal settings page.
- Choose a folder name to which Google Drive will be linked, then choose "Google Drive" as storage

- Click on the gear behind "Google Drive" to configure the Google Drive API

- Start creating a Project, if you have not yet created a project.

- In the Dashboard choose for "Enable APIs and services" at the top.

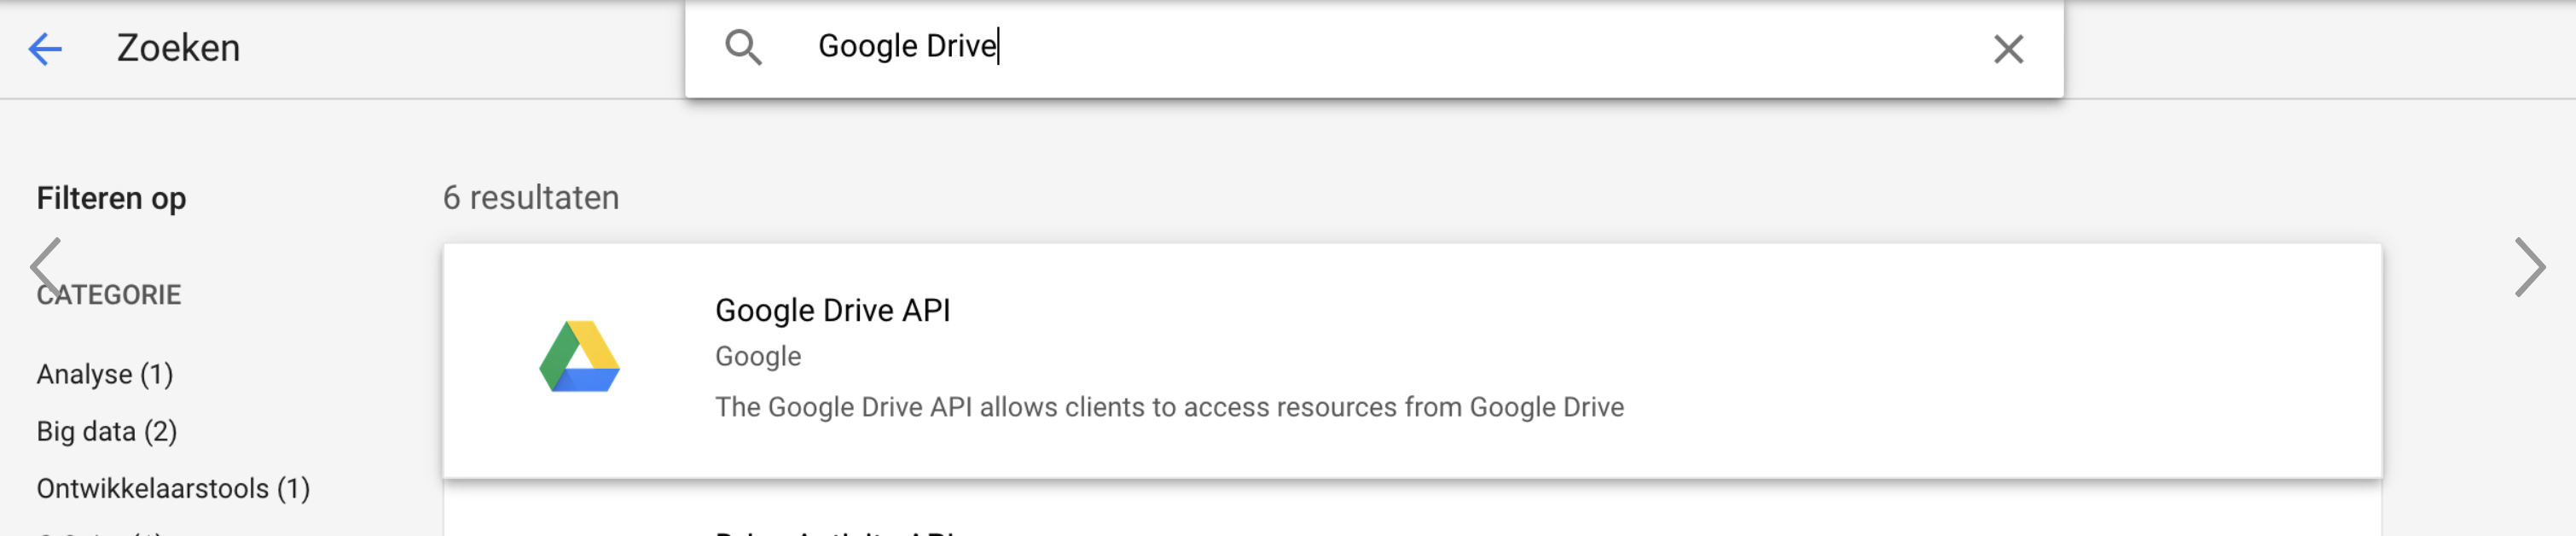
- Lookup the Google Drive API and enable these.
- Then choose for "OAuth consent screen" to start creating your oAuth2 App credentials.

- For the oAuth2 App permission, fill in the following fields;
- AppName = Your App Name (For example: ResearchDrive)
- Domain = surfsara.nl
- Token Time Limit
- Then start with creating your Client ID oAuth credentials
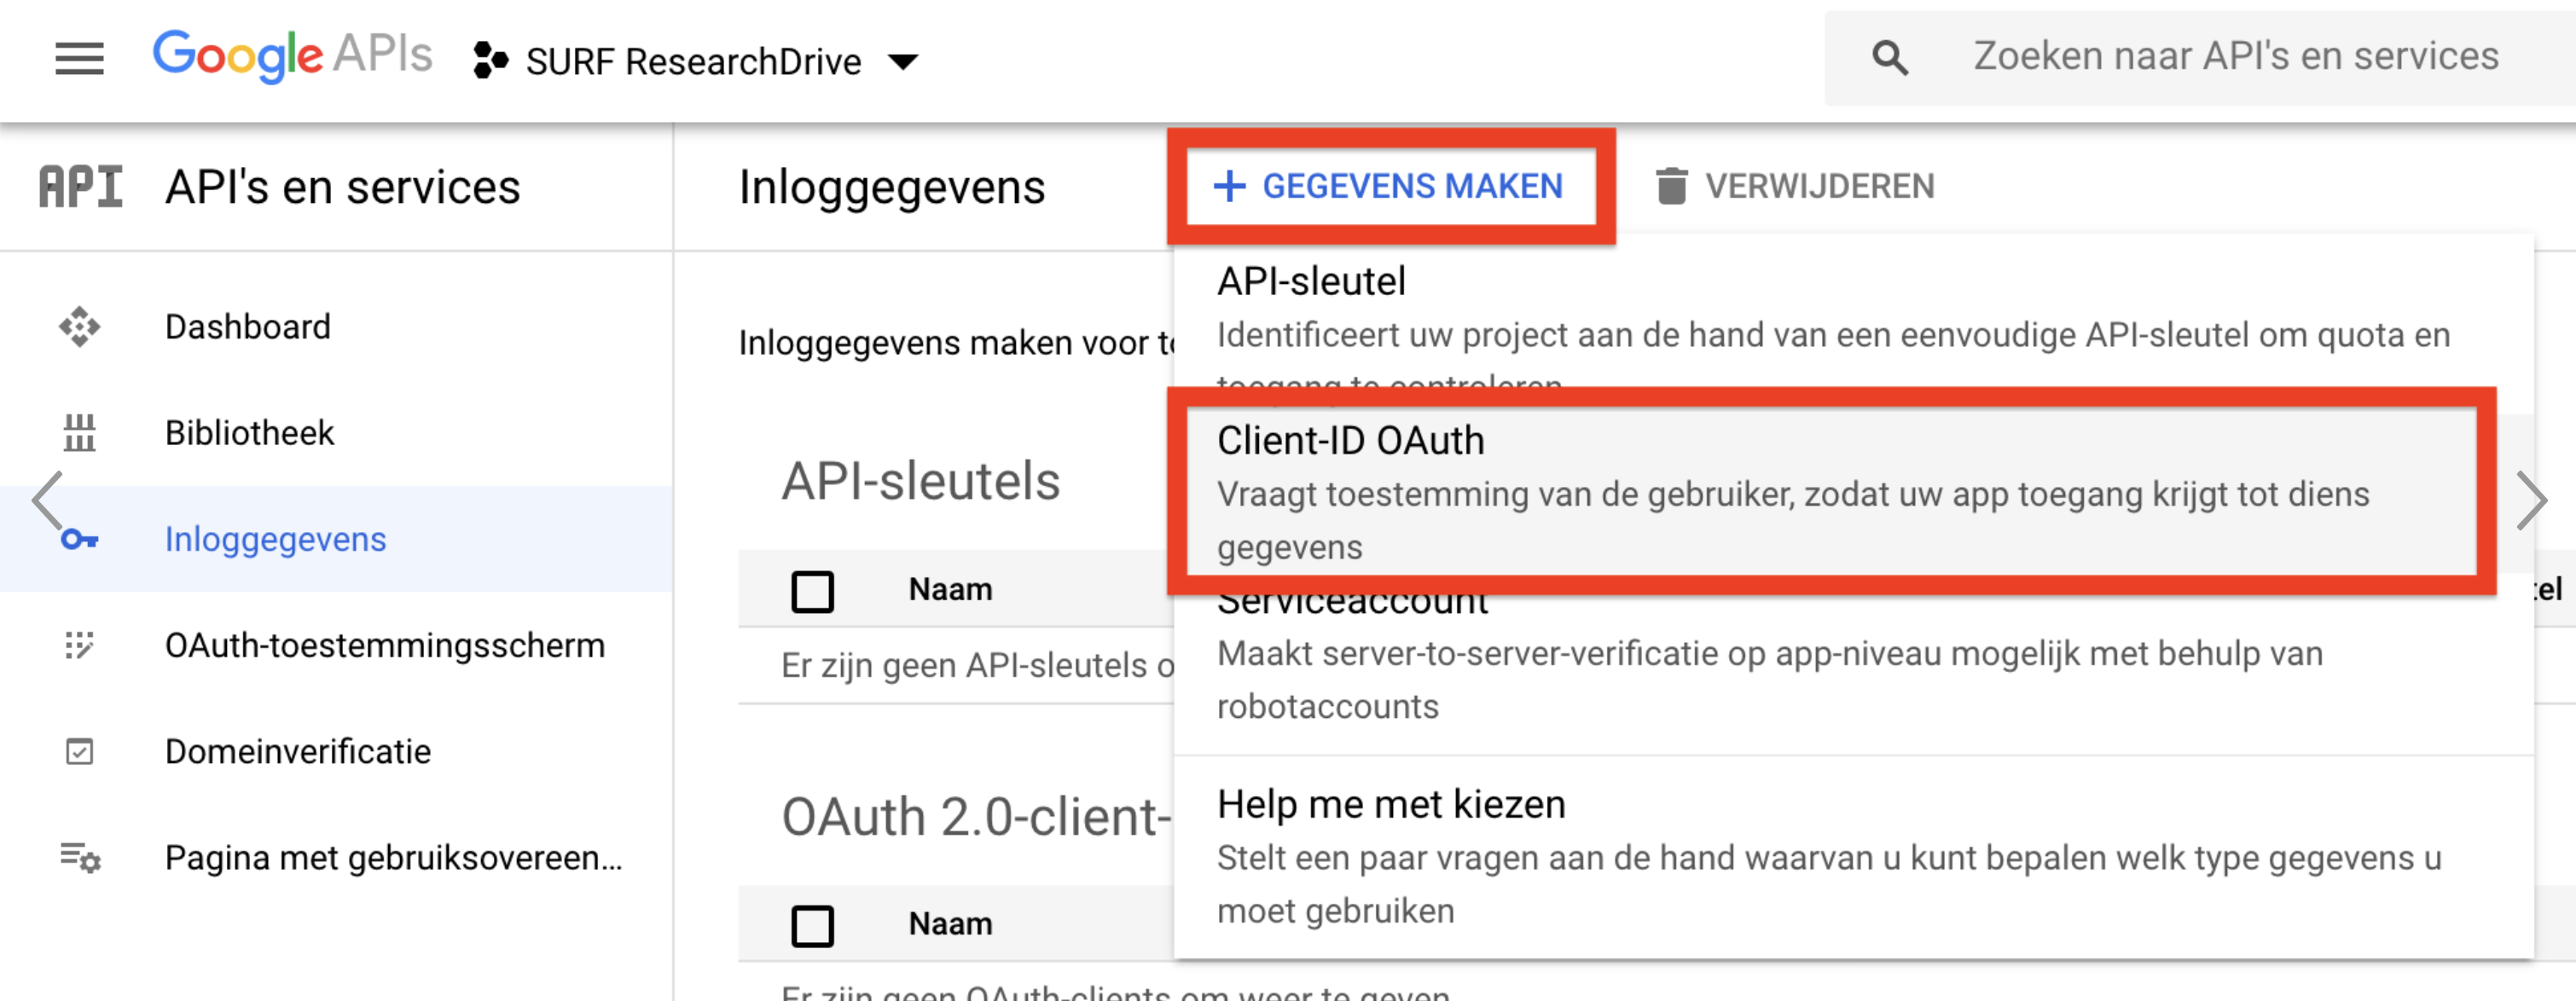
- To create your Client ID oAuth credentials, choose "Web application".
Then enter a name for the application, for example "Research Drive".
Finally, enter the Redirect URI, which is as follows; https://<your-researchdrive-environment-url>/index.php/settings/personal?sectionid=storage
For example; https://researchdrive.surfsara.nl/index.php/settings/personal?sectionid=storage
- After these steps, you will receive your oAuth2 Client tokens.
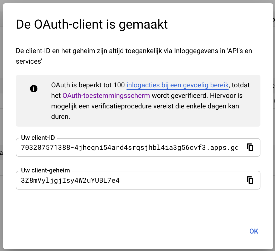
- Enter the Google Drive Client ID & Client Secret in the appropriate fields & click "Grant Access" to grant access to Research Drive.

- Then easily find your external storage via the "External Storage" menu option.
