| Tip |
|---|
Performance of external storage is not optimal and also depends on the external party. |
| Info |
|---|
The steps to mount Google Drive are described here. This is not further supported by the Research Drive Helpdesk. |
- Go to the "External storage" option at your personal settings page.
- Choose a folder name to which Google Drive will be linked, then choose "Google Drive" as storage

- Click on the gear behind "Google Drive" to configure the Google Drive API

- Start creating a Project, if you have not yet created a project.

- In the Dashboard choose for "Enable APIs and services" at the top.

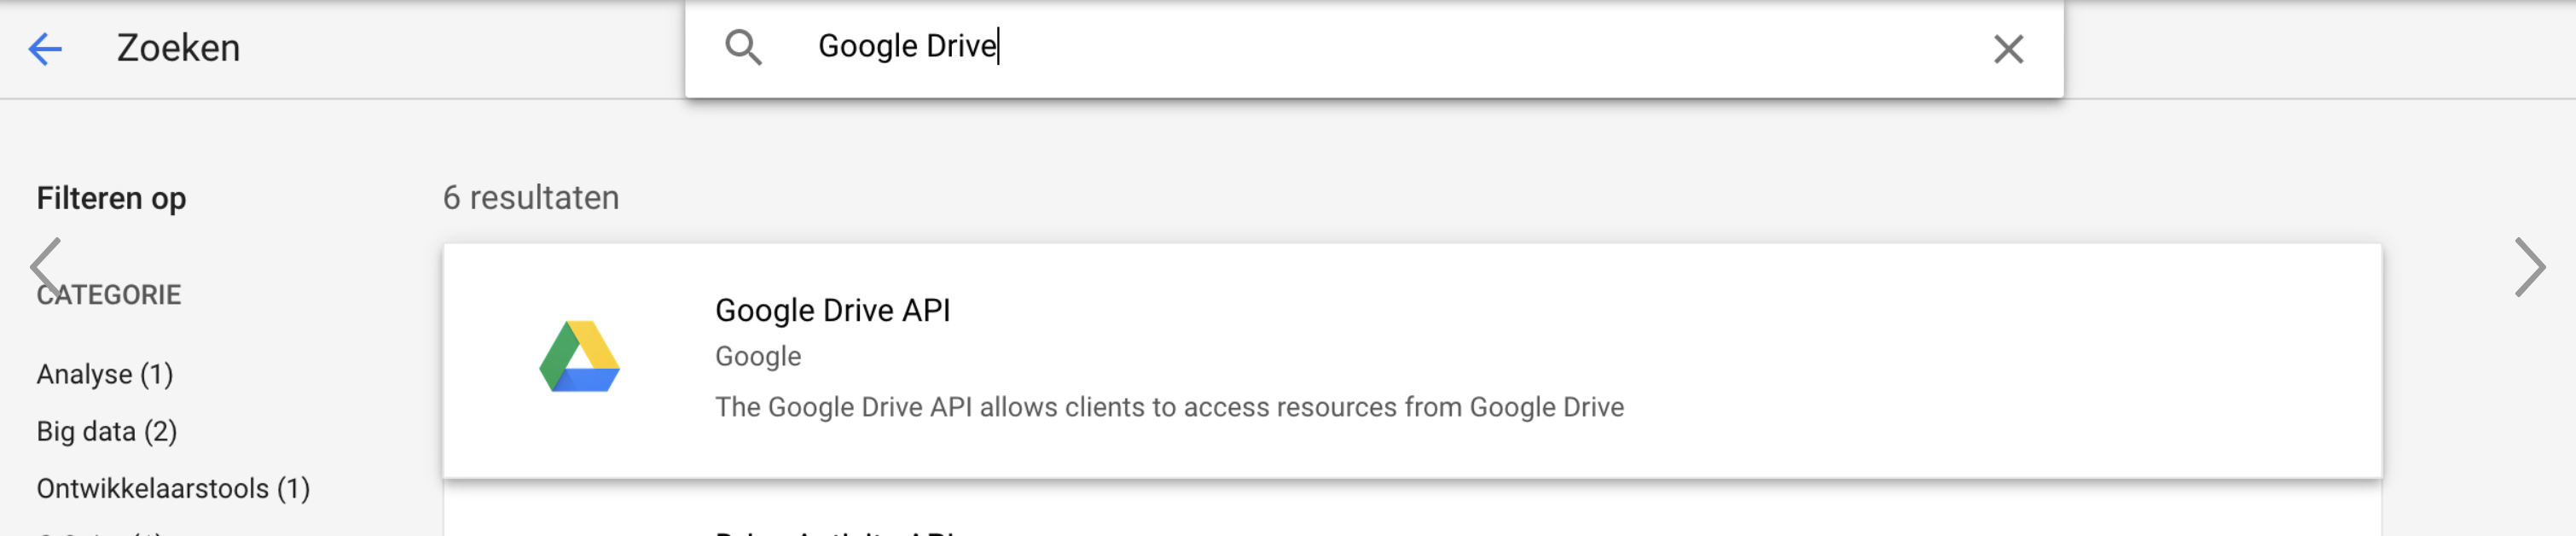
- Lookup the Google Drive API and enable these.
- Then choose for "OAuth consent screen" to start creating your oAuth2 App credentials.

- For the oAuth2 App permission, fill in the following fields;
- AppName = Your App Name (For example: ResearchDrive)
- Domain = surfsara.nl
- Token Time Limit
- Then start with creating your Client ID oAuth credentials
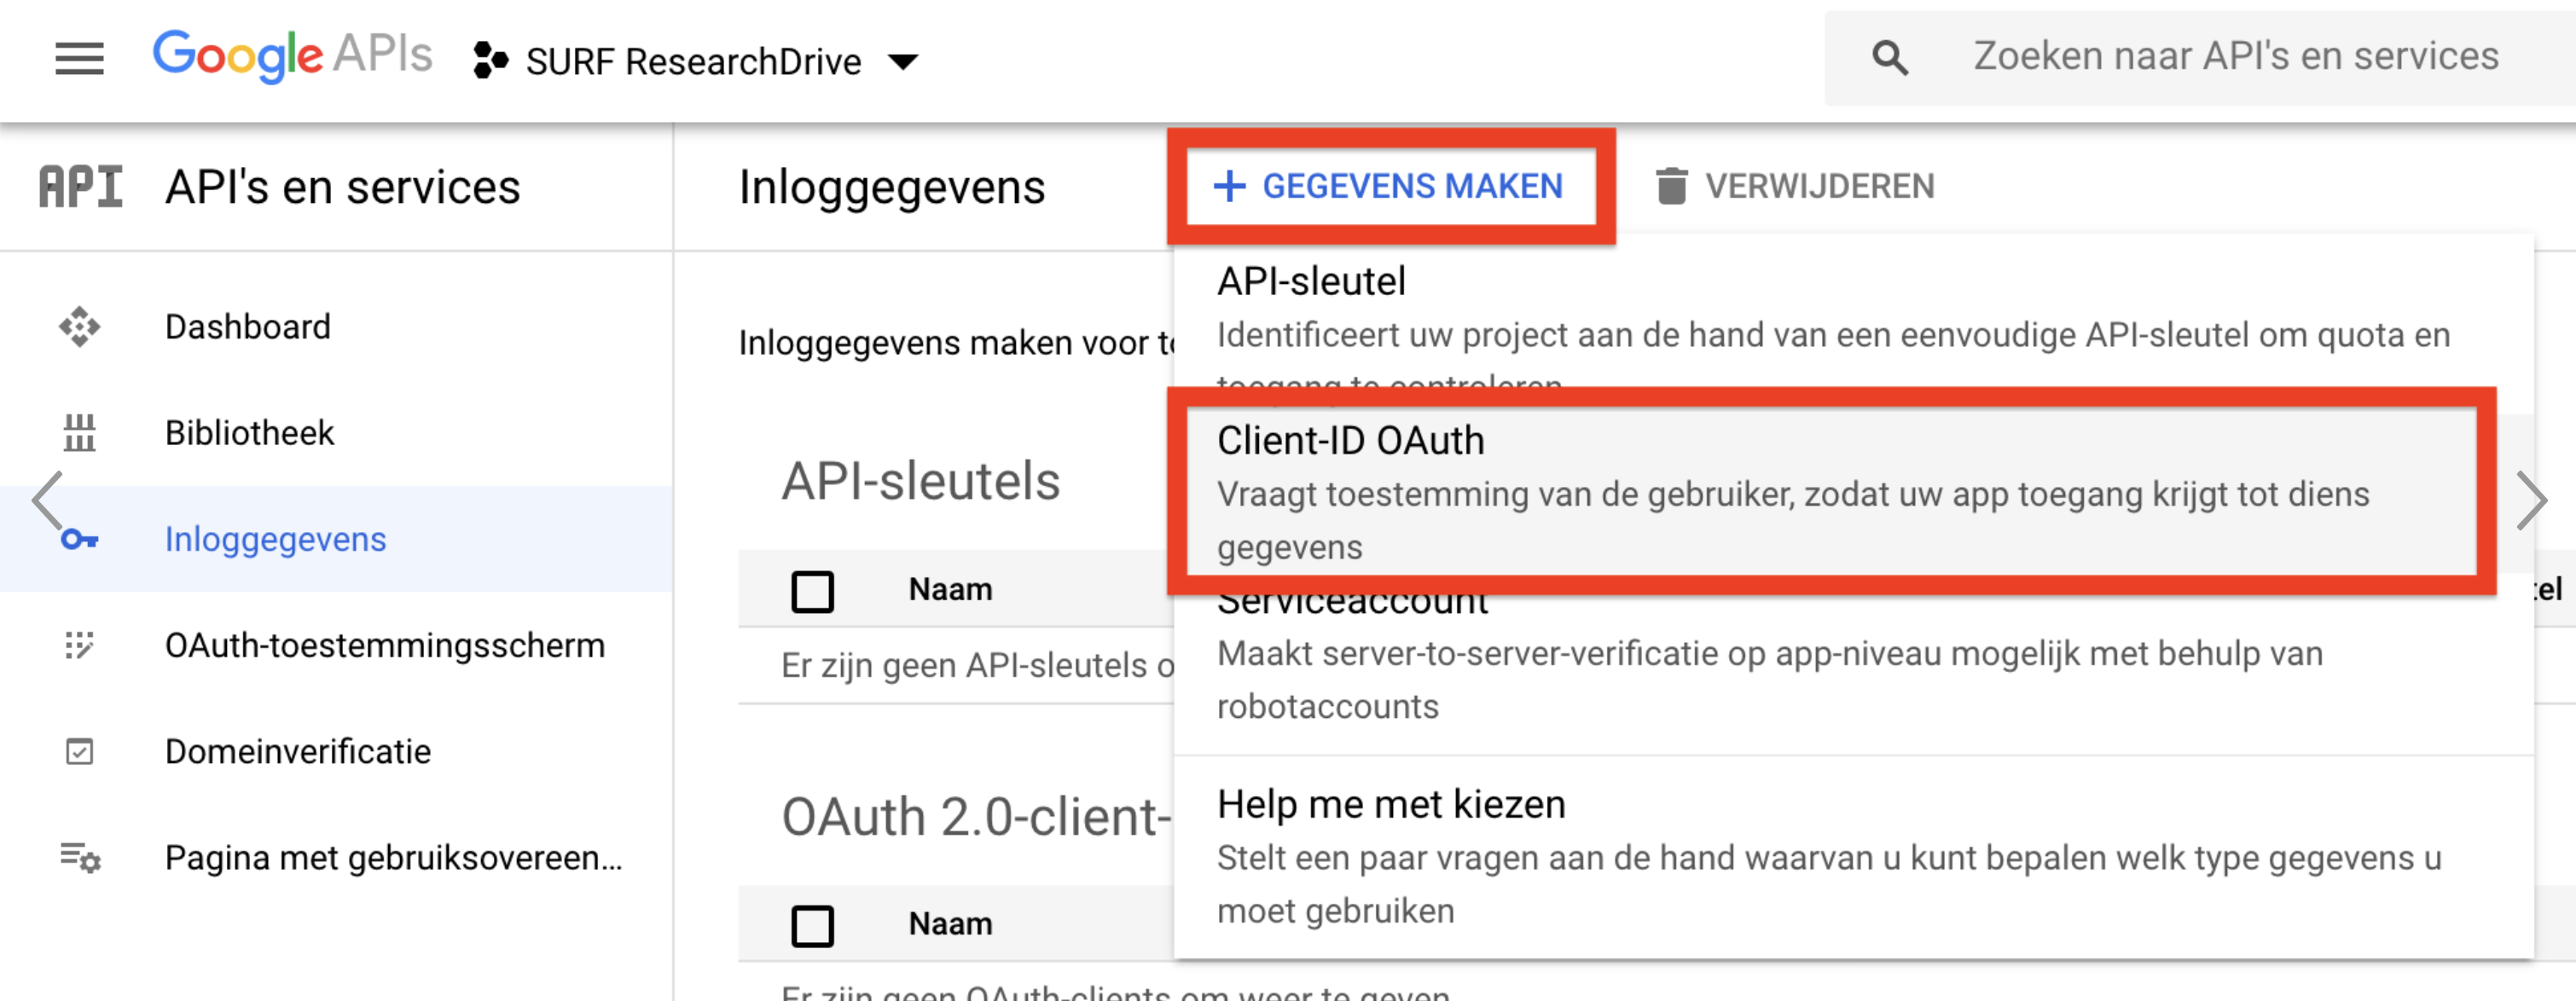
- To create your Client ID oAuth credentials, choose "Web application".
Then enter a name for the application, for example "Research Drive".
Finally, enter the Redirect URI, which is as follows; https://<your-researchdrive-environment-url>/index.php/settings/personal?sectionid=storage
For example; https://researchdrive.surfsara.nl/index.php/settings/personal?sectionid=storage
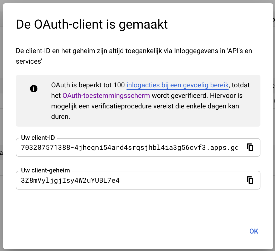
- After these steps, you will receive your oAuth2 Client tokens.
- Enter the Google Drive Client ID & Client Secret in the appropriate fields & click "Grant Access" to grant access to Research Drive.

- Then easily find your external storage via the "External Storage" menu option.
