Editor: Eddy Timmer
Create a new simple VM.
Make sure you have a budget assigned to your account before continue if not follow the instructions here : Get a budget for Research Cloud.
When you successfully login to the ReseachCloud website you will see the Dashboard.
The following steps will help you to create your fist VM:
- Open de 'Dashboard' page
- At the quick actions section, create a new workspace by clicking on the 'CREATE NEW' button.
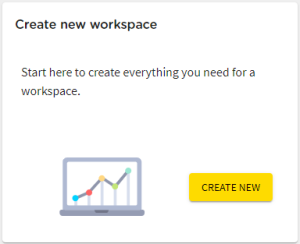
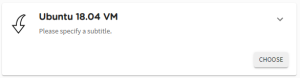
- This will open the page "Create your workspace" and you can 'CHOOSE' for the vm you like to deploy'. (like. Ubuntu 18.04 VM)
- Next page you can select the Collaborative organisation and click on 'CHOOSE'.
- In the step choose Dataset(s) no dataset needs to be selected for now click on the
 button.
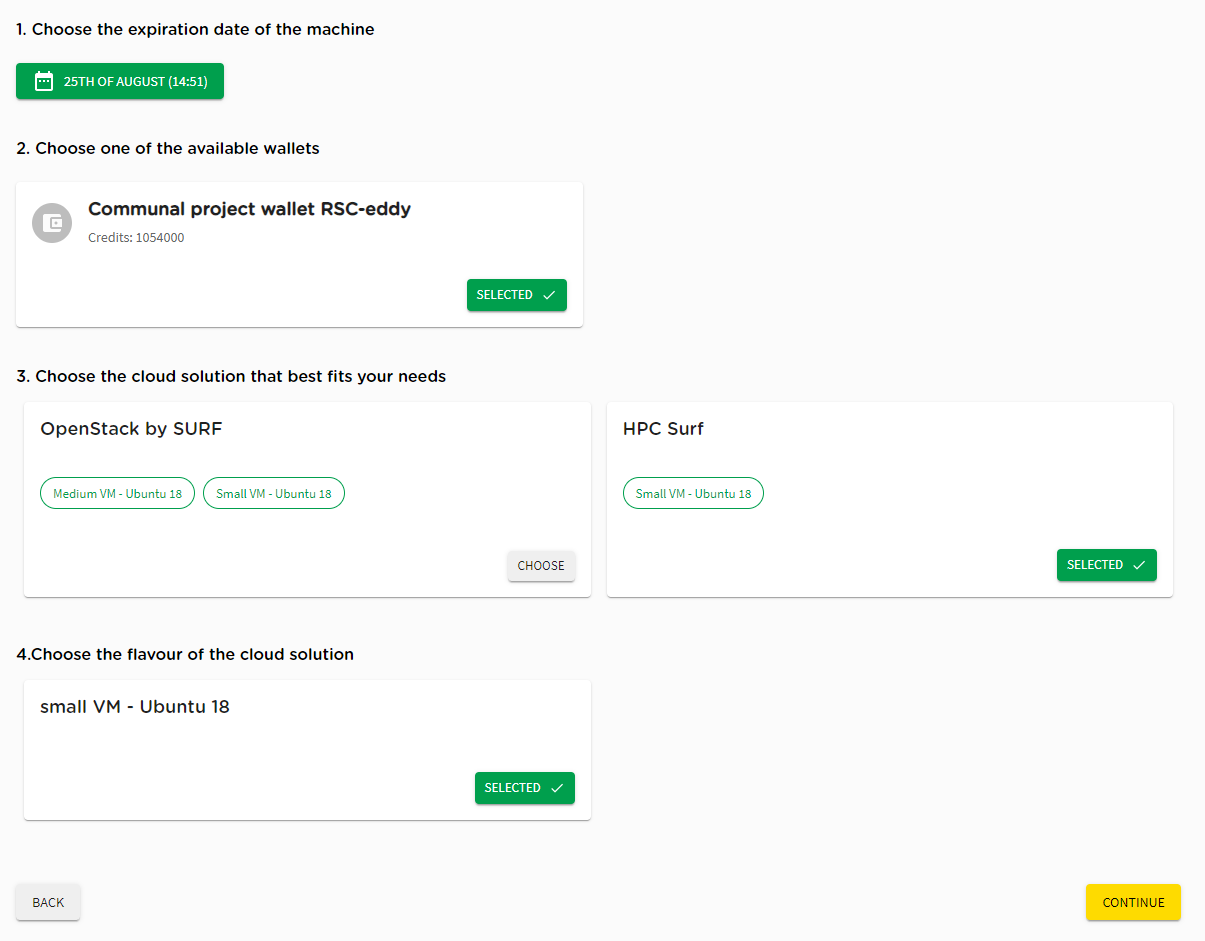
 - On the "Select time and solution" page please set the (1) end date, the (2) available budget, (3) site, and CHOOSE a (4) Small VM. And click on 'CONTINUE'.
- Enter the name of your VM (Workspace name) that you will see in your Dashboard later and agree to the Terms and Conditions and click on SUBMIT.
- You will be redirected to the Dashboard and you should see under the selection 'Your Workspaces' the name of the VM that you have created. The status will change form creating to running once the VM is ready to use.

Delete a vm in your workspace
Once you have a vm created you should be able to see the vm in you Dashboard under the section "Your Workspaces". You can click on the down arrow (![]() ) to see more details.
) to see more details.
Once you are sure that it is the correct vm that you like to delete you can click on the  button.
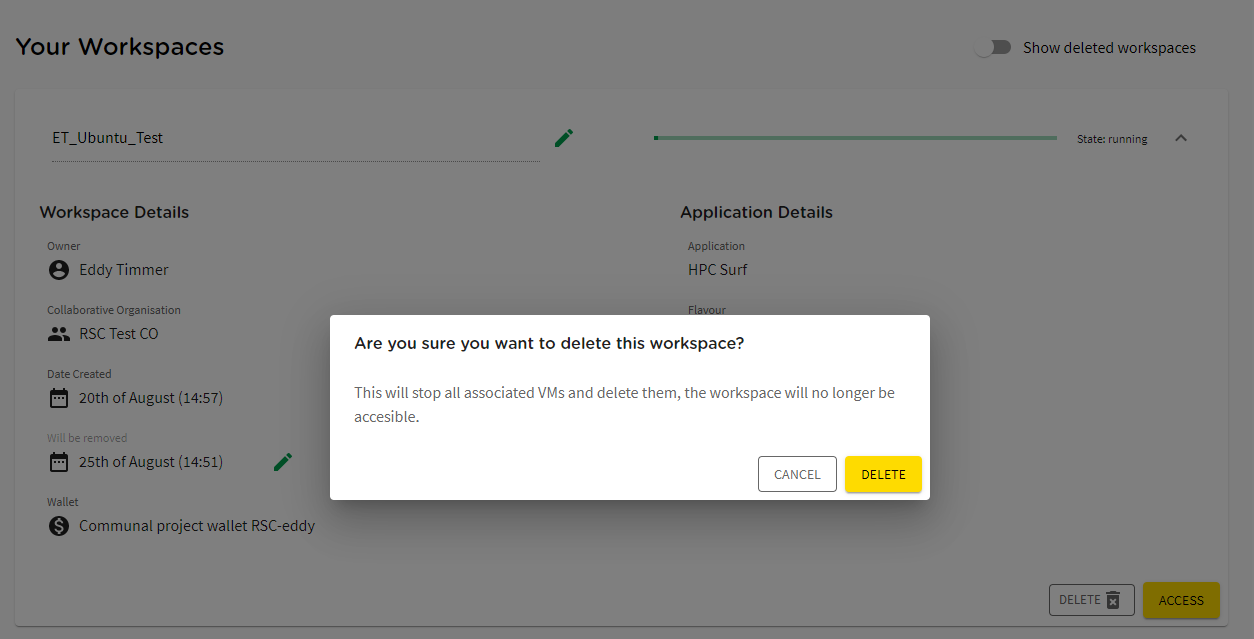
Confirm the removal of the VM by clicking on the DELETE button again.
This will take a couple of seconds to delete the vm. The status will be changed from deleting to deleted. Once the VM is deleted you can only see the VM by enable the option 'Show deleted workspaces' : ![]()