Workspace does not equal Virtual Machine
If you have some experience with other compute clouds, you may think that the basic building block needs to be a Virtual Machine (VM). This is not true for the Research Cloud.
The Research Cloud uses a "workspace" that you configure to hold your compute and data needs. The workspace application can be just a VM with an OS, but also something complicated like a Jupyter notebook or an R server.
This page guides you through starting a workspace with an Ubuntu VM, as an example of a simple application.
Please note now already, that by default any workspace is volatile. If the workspace ceases to exist, all its data ceases to exist, too.
Please make sure that you put on external storage, anything that is supposed to outlive the workspace!
Create a Workspace with an Ubuntu VM
Make sure you have a budget assigned to your account before you continue. If not follow the instructions here : Get a budget for Research Cloud.
When you successfully login to the Research Cloud website you will see the Dashboard.
The following steps will help you to create your fist workspace:
- Open de 'Dashboard' page
- At the quick actions section, create a new workspace by clicking on the 'CREATE NEW' button.
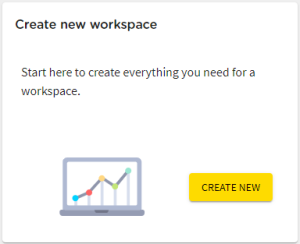
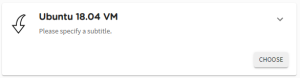
- This will open the page "Create your workspace" and you can 'CHOOSE' for the workspace you like to deploy. (like. Ubuntu 18.04 VM)
- On the next page you can select the collaborative organisation and click on 'CHOOSE'.
- In the step choose Dataset(s) no dataset needs to be selected. For now, click on the
 button.
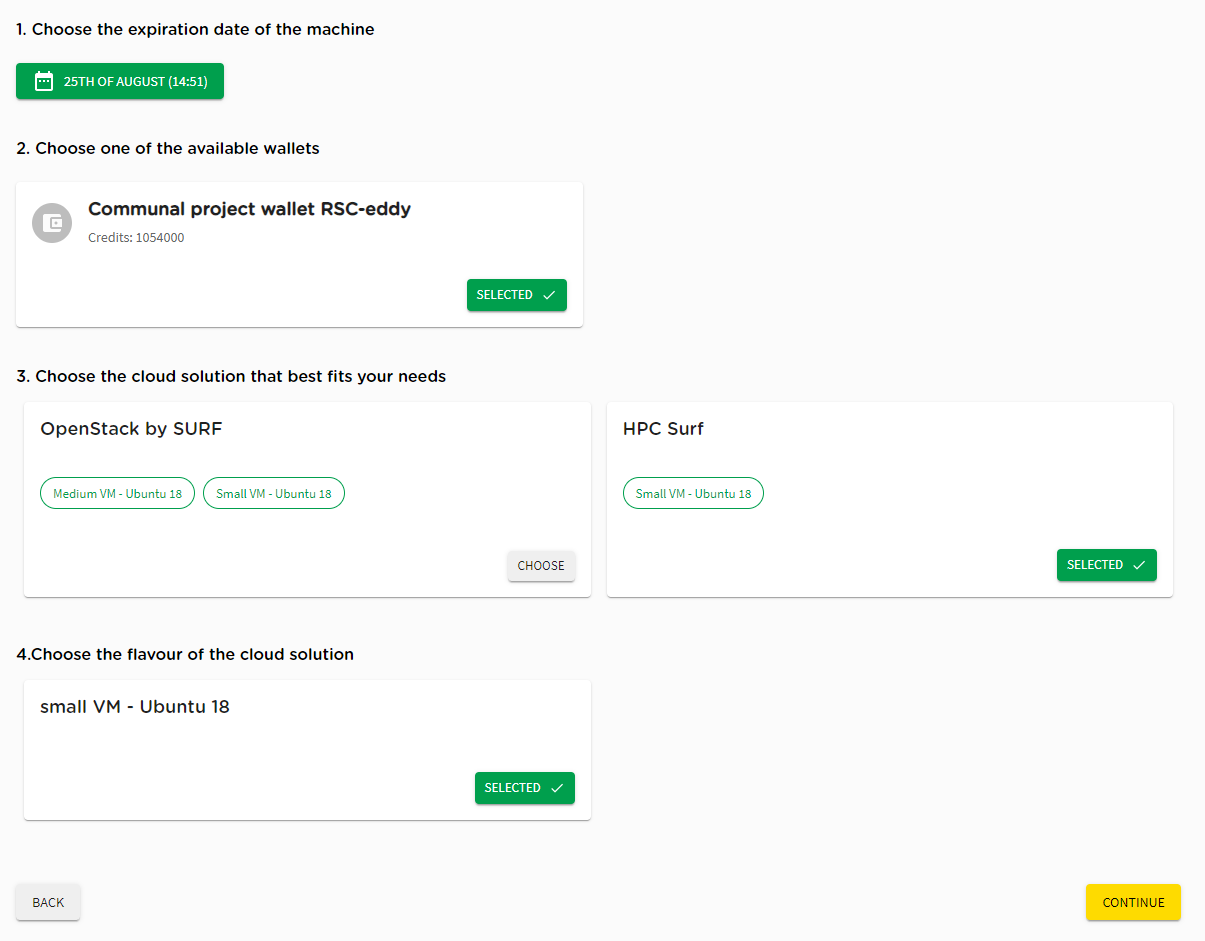
 - On the "Select time and solution" page please set the (1) end date, the (2) available budget, (3) site, and CHOOSE a (4) flavour of your workspace. And click on 'CONTINUE'.
- Enter a unique name for your workspace. This name will identify the workspace in your Dashboard, later on. Also agree to the Terms and Conditions. Then click on SUBMIT.
- You will be redirected to the Dashboard and you should see under the selection 'Your Workspaces' the name of the Workspace that you have created. The status will change form creating to running once the Workspace is ready to use.

"Lifeline"
Once your workspace is in the state "running", the green "lifeline" of the workspace is displayed:

It symbolizes how much of the scheduled running time has expired. When the scheduled deletion date approaches, this line will be shown in red.
Use your Workspace
Now that your workspace with Ubuntu is running, you probably want to log in and use it. This is described in the next page: Log in to your workspace.
Do not forget to delete your workspace after you are done, see the next section.
Delete your Workspace
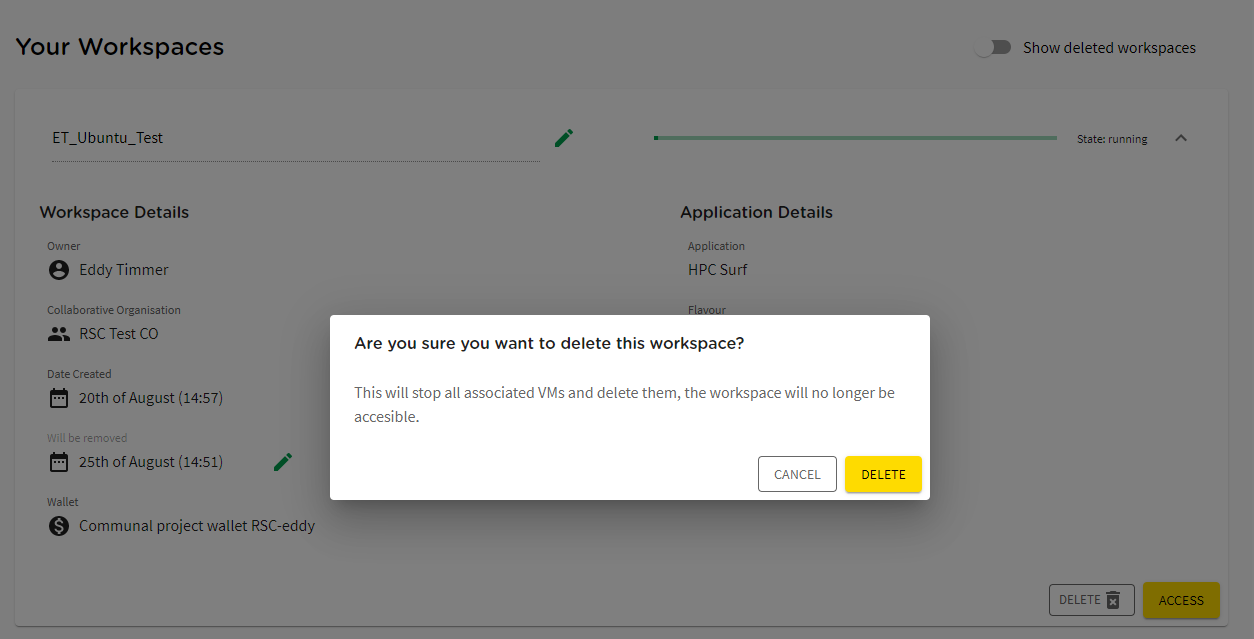
Once you have a workspace created you should be able to see it in you Dashboard under the section "Your Workspaces". You can click on the down arrow (![]() ) to see more details.
) to see more details.
If you want to delete that workspace you can click on the 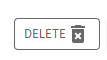 button to delete this workspace.
Confirm the removal of the workspace by clicking on the DELETE button again.
It will take a couple of seconds to delete the workspace. The status will be changed from deleting to deleted. Once the workspace is deleted you are able to see the deleted workspaces by enabling the option 'Show deleted workspaces' ![]()
If you had a persistent storage volume attached to the workspace, this volume will be available again to be attached to another workspace.